| |||||||||||||||||||||
| Panomundo | |||||||||||||||||||||
| 3D Photography by Brian Greenstone, Austin TX | |||||||||||||||||||||
Please help support this site by visiting our sponsors shown at the top and bottom of this page.
| |||||||||||||||||||||
| Panomundo | |||||||||||||||||||||
| 3D Photography by Brian Greenstone, Austin TX | |||||||||||||||||||||
Please help support this site by visiting our sponsors shown at the top and bottom of this page.
| HOW TO: The Process of Making a Pano | |
Section 10a: HDR in Photoshop
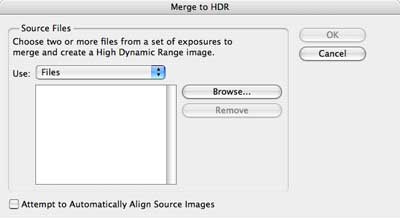
Merge to HDRPhotoshop CS 2 has an HDR feature which lets you create High Dynamic Range 32-bit images (that' 32-bits per channel!). These images have as much contrast range as exists in the real world even though no computer monitor can actually display this full range. The Merge to HDR feature in CS2 will take our 3 exposures and merge them into a single HDR image that contains the sum of all of the data in all 3 panos. Unfortunately, Photoshop is about the worst application out there for doing HDR work. The Tone Mapping (see below) is very poor, and I highly recommend either using Bracketeer or Photomatix Pro. To get things started, select "Merge to HDR..." from the File -> Automate menu to bring up the Merge to HDR dialog:
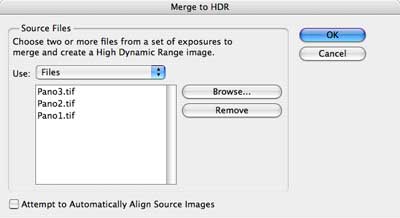
Click the Browse button and then select the 3 pano images that you want to merge:
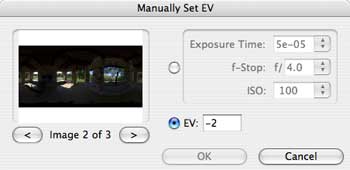
When you click OK, Photoshop will take a little while to load the images, but after a few seconds you'll get a dialog asking you to set the exposure information for the three files:
PTMac does not keep the original EXIF information from the fisheye images that you used to create the pano, so Photoshop has no idea what the actual exposures are for these images. You can either enter the shutter speed / aperature / ISO for each shot, or you can just set the EV values as shown above. IMPORTANT: There is a bug in Photoshop CS 2 where it loses the last value unless you click one of the arrow buttons! So, after entering the last EV value, be sure to click one of the arrow buttons to force Photoshop to accept that value. After hitting the OK button you'll be taken to the preview dialog:
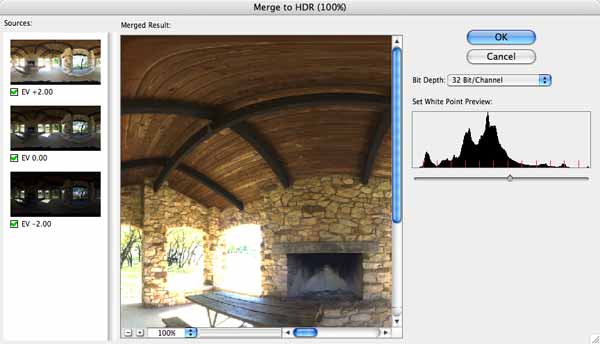
The only thing you need to do here is to check that the EV values on the left are what you entered in the previous dialog. If they are not the same then you need to start over because you've been hit by the bug that I mentioned above. If the EV values match what you entered, then hit the OK button.
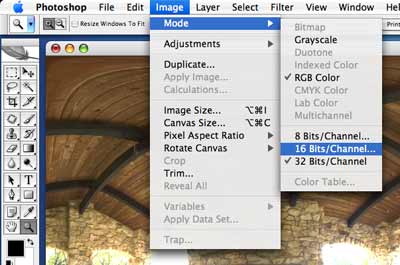
Compressing the HDR Image's Contrast RangeThe HDR image won't immediately look like anything special on the screen because we still need to compress the image's contrast range down to something that we can actually see on our display. To do this, we need to convert the image down to 16-bit, so, select "16 Bits/Channel..." from the Image->Mode menu:
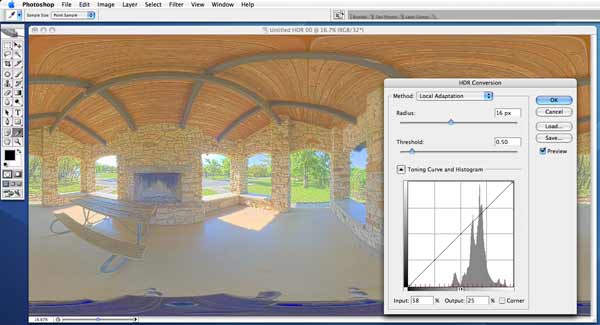
This will bring up the HDR Conversion dialog. There are several conversion methods available here, but the only one that works for our purposes is Local Adaptation, so select that from the Method pop-up menu:
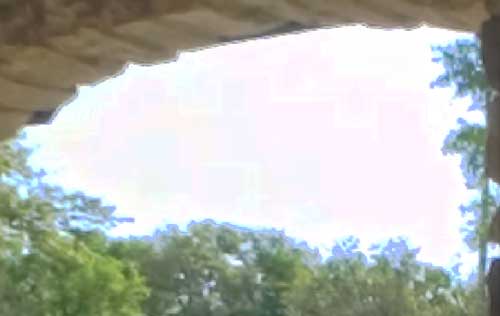
The image looks awful. That's because the Toning Curve is not set yet. Drag the toning curve around until you get an image that you like. Your images may look a bit washed-out and low-contrast. Don't worry about that if it happens; we'll fix that later. With the toning curve we're simply trying to set the general brightness of the bright background and the dark foreground of the scene. Here's what a properly set Toning Curve will do:
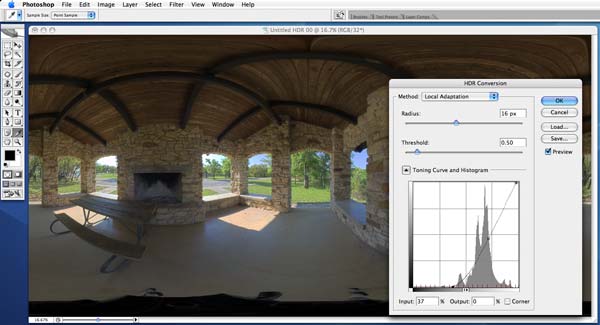
To get good contrast here it is important that you flatten the curve in the area where there is no histogram data:
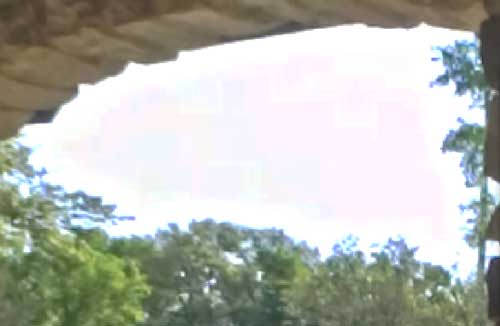
There is no data in the left 1/3rd of the graph, so we flatten the curve there. Similarly, there is no data in the right several millimeters, so we flatten that too. Doing this insures that we don't waste pecious contrast range on data that doesn't exist. You may think that the image looks pretty good at this point, but if you zoom in you may see problems. High contrast edges will sometimes have bad ghosting artifacts as shown here:
To eliminate these ugly edge artifacts, drag the Threshold slider until they go away. In this example, dragging the slider to a value of about 1.6 fixed the problem:
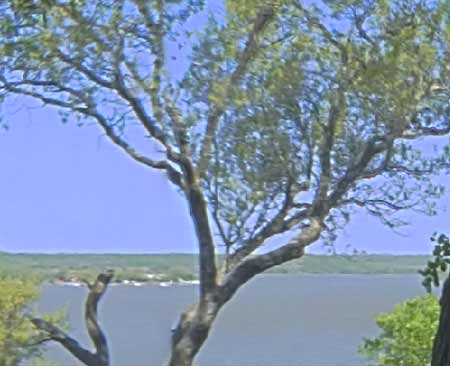
Another type of artifact is the "white shadow" artifact as shown in the tree limbs here:
To eliminate this kind of artifact, we drag the Radius slider until it goes away. Be careful with the Radius slider, however, because it can affect the overall contrast of your image, so find a good balance between contrast and white shadow elimination. In this case, I've dragged it to a value of 5.0 to get this result:
Once you're happy with the settings, press the OK button and then Photoshop will calculate the full image. This takes a while. What we end up with is this:
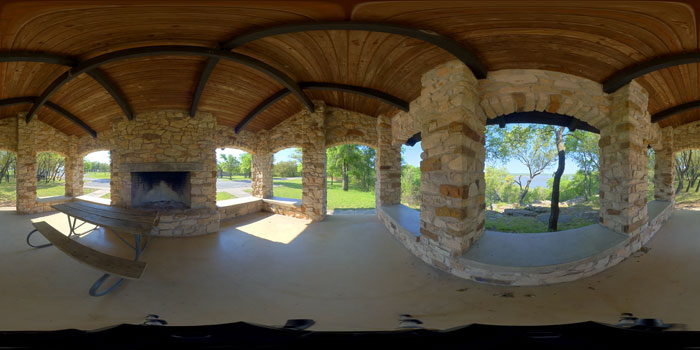
Contrast and SaturationWhile this looks pretty good, it also looks a little washed out and low-contrast. To tweak this just use the usual Brightness/Contrast dialog in the Image->Adjustments menu. You may also want to increase the image saturation as well. As a final step try applying the Smart Sharpen filter for a nice, crisp image. After doing these final tweaks, convert the image down to 8-bit and save it. Here's the final result:
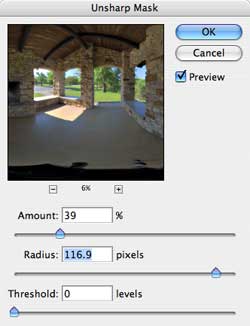
There is also an alternative way to increase the contrast of the image which can often give you nicer results than using the Brightness/Contrast dialog's slider bar. Rather than using that dialog, you can also the the Unsharp Mask filter to perform localized contrast improvements to the image. Set the Amount slider based on how much contrast you want. Lower values = lower contrast, higher values = higher contrast. Then set the Radius slider to a fairly large value:
The image we get from this method looks like this:
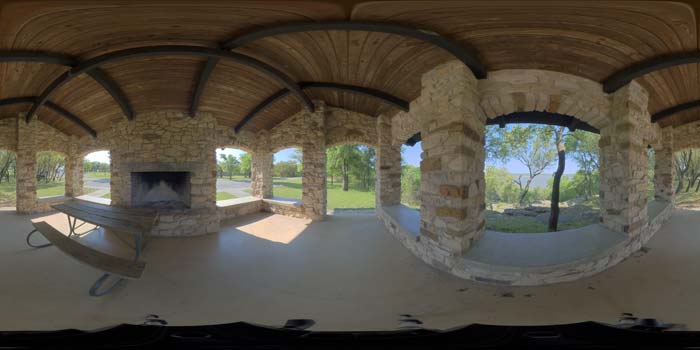
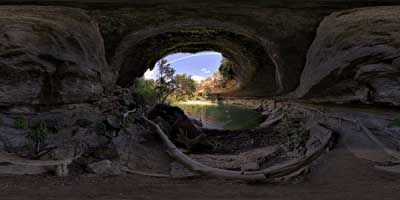
The results from the Unsharp Mask method look pretty similar to the results from just tweaking the Contrast slider, but upon close inspection you'd notice some subtle differences which give the Unsharp Mask method slightly better marks for overall quality. Use whichever method works best for any given image. Here ia another example of a panorama created with this method (click to view the pano):
| |||
Please help support this site by visiting our sponsors shown at the top and bottom of this page.
Ask us how we can add 3D panoramas to your web site: brian@pangeasoft.net
Our price list is here
©2005-2009 Brian Greenstone